
Chevron Seven... Activated! |
| By Marco Scheloske |
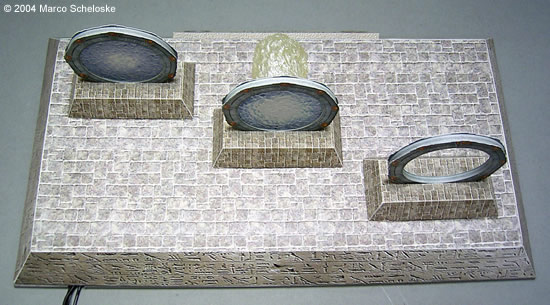
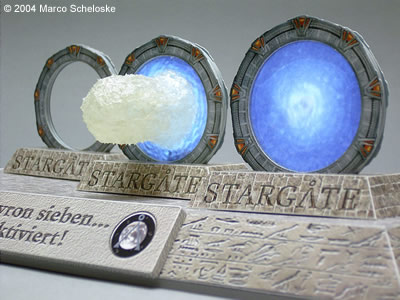
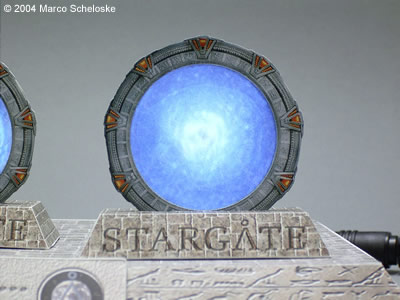
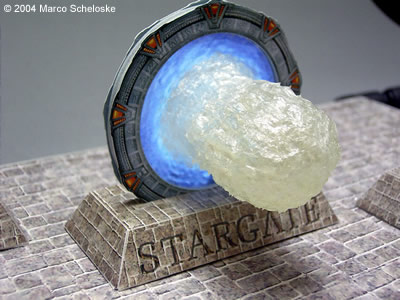
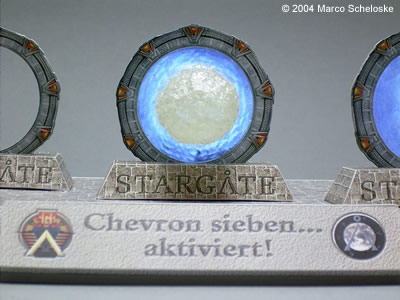
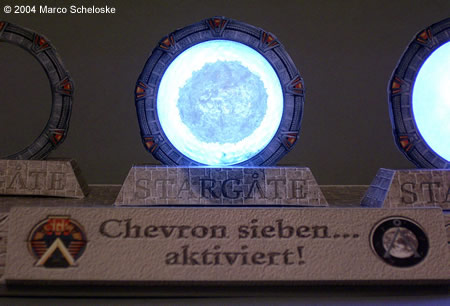
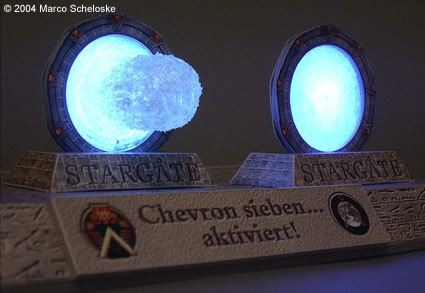
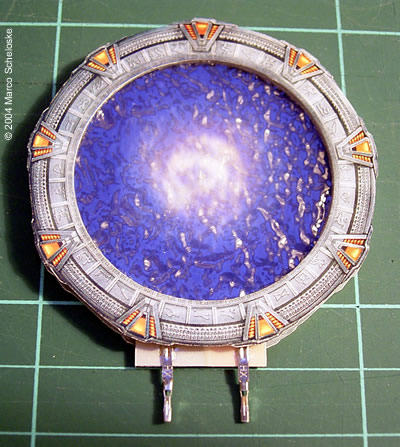
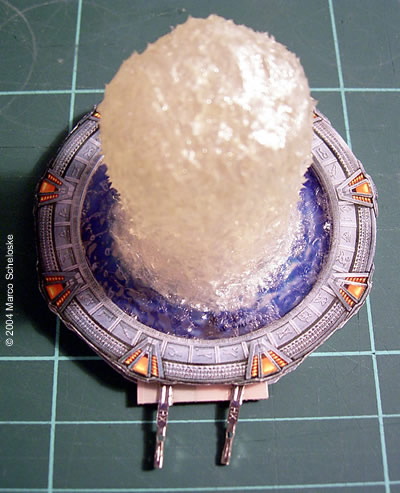
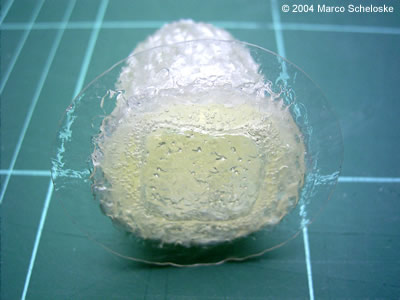
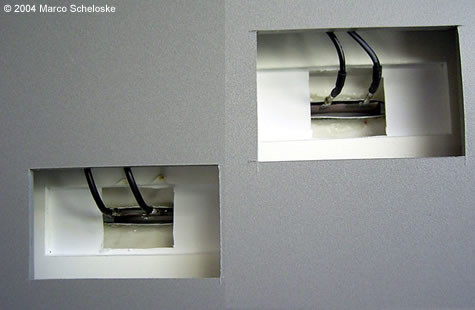
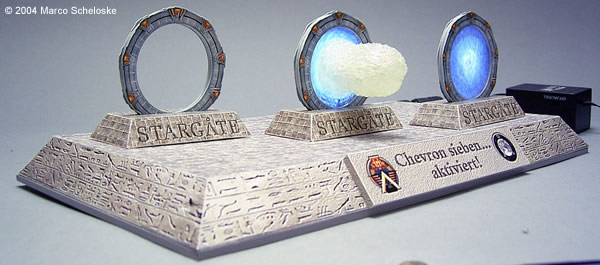 Oh wow, you can`t imagine how much I love those words. Isn`t it a shame that so few kits are out there regarding "Stargateō? So what can a modeler do? Correct: Make them by his own! A while ago I was luckily able to build a resin Stargate in 1:35, and I like it very much, but I wanted to show something different in a model: The activation sequence of a Stargate! My plan was to show three stages of the sequence in one model, an inactive Stargate, one with the vortex just bursting out, and the finally activated gate. In 1:35 this would lead to a huge model, and a lot of money would be involved, too. But there are always possibilities, and I finally choose to make the model from paper / cardboard in a much smaller scale. 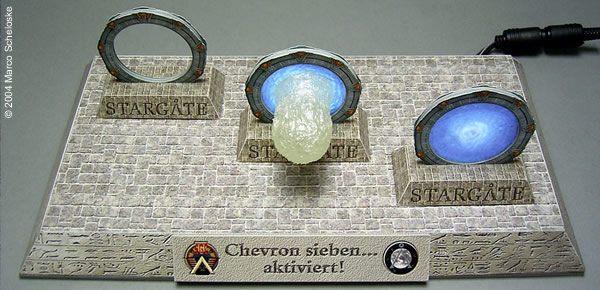 The gates I built are approx. 6 cm in diameter; the base measures 30 x 15 cm. Blue glowing lightsheet does the magic for the "SFXō shown in the diorama. I got a more or less cheap set from Ebay (by the way, this is the first time I used this stuff). The event horizons are made in the same manner as I did them for my first, bigger Stargate: printed screenshots (two different ones) and seafilm sandwiched together. The only difference is that an additional layer is involved: The lightsheet. The black backside of the lightsheet is covered by an opaque and mirrored print of the event horizons and the same seafilm I used for the front side. The vortex was made with the help of "water effect jellyō. I made a core from clear styrene, glued it on the seafilm, and then I added the jelly layer by layer. By layer by layer by layer by layer by layer... I guess you unerstand what I want to say. You can only work in very thin layers, because otherwise the water effect stuff will need years to dry and become transparent (it is white when applied). I did this for nearly four WEEKS, twice a day (and I was very, very happy that I worked in such a small scale...)! The last but one layer was done with transparent mother-of-pearl window color (white would have been more correct, but it was not transparent enough), followed by a very last layer of water effect jelly, sculpted to the recreate the "boilingō surface. Finally, it was done. The power connection was made through the bottom of the bases of the gates. I made some support openings in the surface plate if it will ever be necessary to repair something there. The display base is also made from cardboard, as well as the nameplate with the Stargate-Command and Taæuri logos. The line reads "Chevron seven... activatedō in German. The model looks nice even with the lights off, but I swear that I can HEAR the roar of the bursting vortex everytime I turn the light on. You too? Image: From behind Image: From the right Image: The event horizon gate Image: The burst gate Image: From the front Image: Lit front Image: Lit form the side Image: Construction: gate with event horizon Image: Construction: gate with burst Image: Construction: the burst detail Image: Construction: power supply |