USS Enterprise (TMP) |
| By Adam Courville |
 |
|
|
|
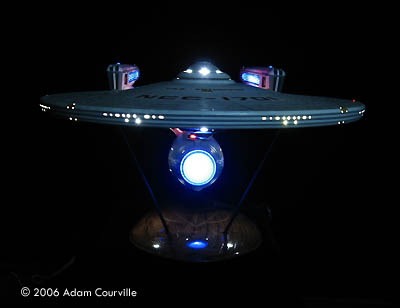
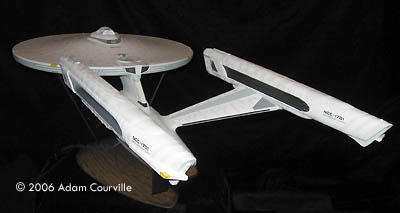
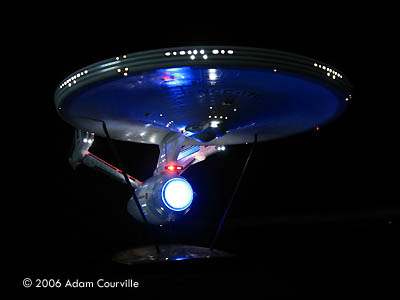
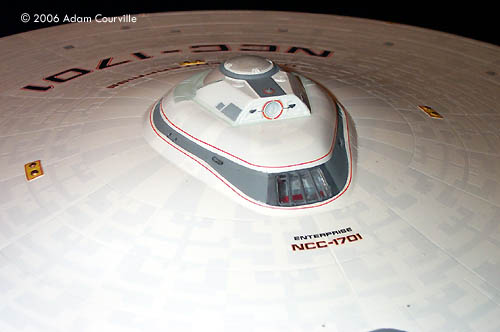
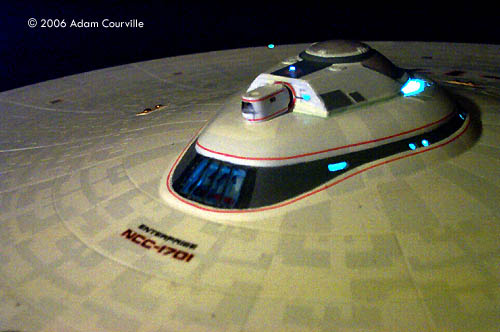
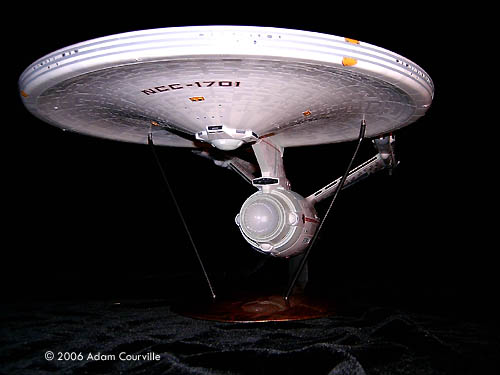
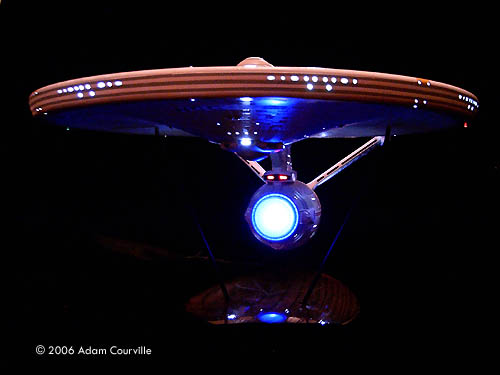
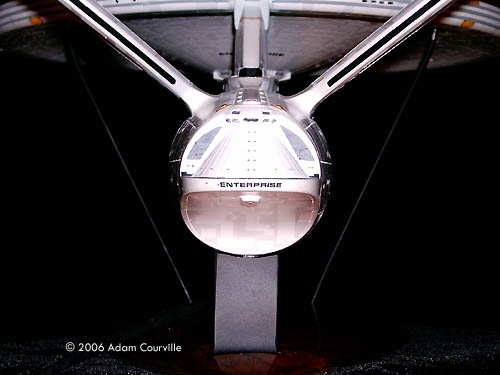
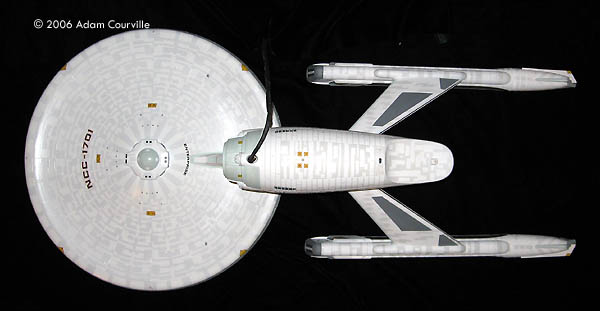
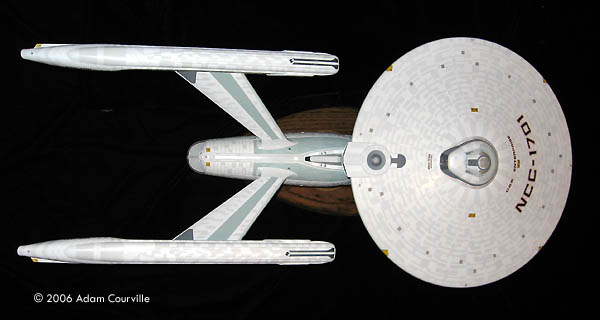
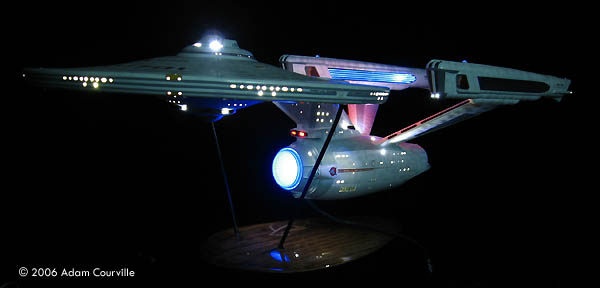
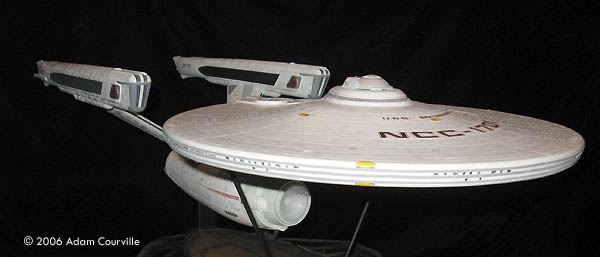
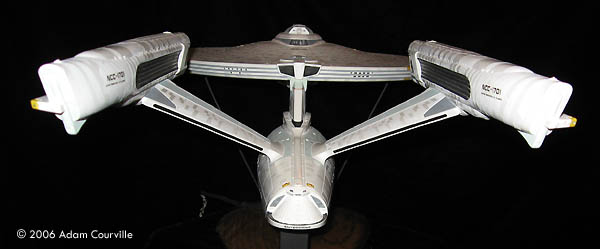
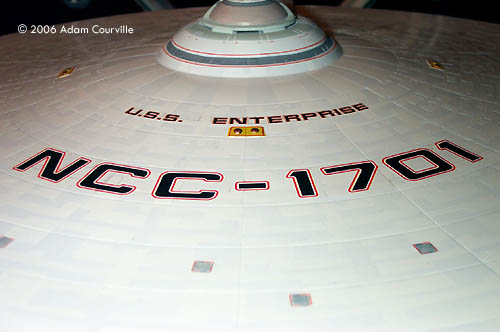
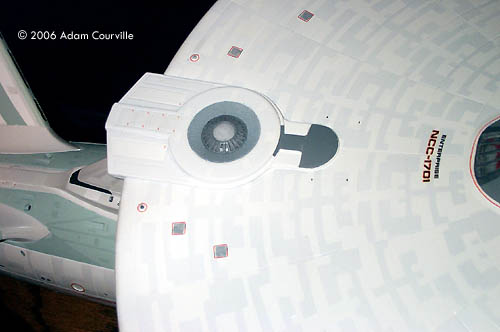
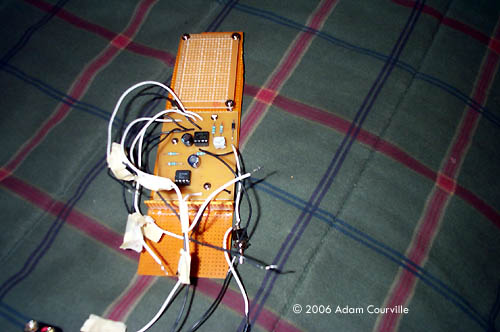
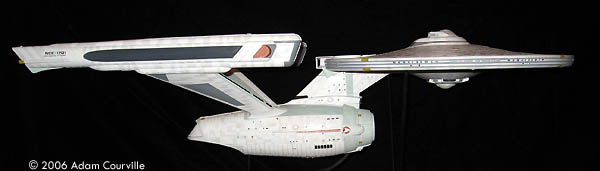
Here is my Polar Lights kit of the 1/350 scale of U.S.S Enterprise. This version is from the first motion picture. Little was modified on the kit except to make way for the lighting system. Most all of the ports ,engine detail, and floods are illuminated with 5mm and 3mm LED's. I lost count after installing a few dozen of these! The model can be powered with internal batteries or more preferably with a wall adapter set at 6 volts. Traditional cement and Ambroid Pro-weld was used in assembly and followed with quick set epoxy for weight bearing joints. (e.g. warp nacelle pylons). Wiring of the sub assemblies were done prior to attaching the engines to the pylons, and saucer to the neck, ect. The saucer and secondary hull with warp engines were painted with black enamel spray paint(store brand) first then gray primer and lastly flat white. Custom mixed Testor's model master enamels were used to decorate the various panels throughout the hull. The darker panels was a mix of duck egg blue and flat white and other parts were shades of medium and dark gray. The main Aztec pattern was done with gloss white over the flat white areas. All masking was done with blue painter's tape and photo frisket film from Badger. I used the decals supplied with the kit and used Testor's dull cote to seal them. All finishing including the decal work was completed before joining the saucer to the secondary hull. After the two hulls were joined all of the circuits were soldered to a small removable circuit board. This can be pulled out through the front of the secondary hull where the sensor disk attaches. |
|
In addition to the circuit board I purchased the Federation flashing board kit from Don's Light and Magic and bolted it to the removable board. To finish off the project, the original stand was put aside and got a nice piece of red oak, shaped and sanded it to a pleasing shape,stained it,and airbrushed on the Starfleet logo before varnishing. As you look at the model all of the illuminated parts are clear or opaque in the off state. This project was started in March of last year, interrupted by a hurricane(Rita!) and finally finished in January of this year. In all, it was a enjoyable first lighting assembly and a tremendous kit to put together. Image: Observation lounge Image: Lighted Image: Flyby Image: Lighted Image: Stern Image: Underneath Image: Above Image: Front/left view - lighted Image: Front/right Image: Rear view Image: Saucer closeup Image: Impulse crystal Image: Main circuit |
|