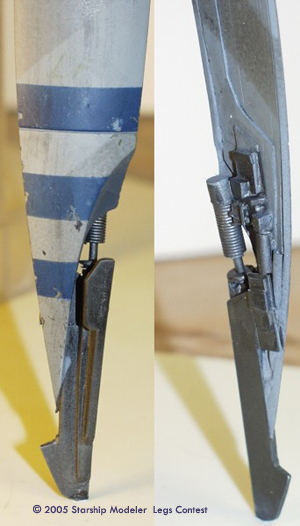
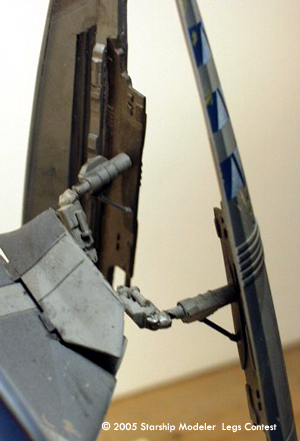
The legs from the starfighter were lacking in detail and were too thin. I removed the walking claws so they could be detailed and placed in proper walk-mode position. The existing claw actuator detail was way underscale, so I replaced them with parts made from sheet & rod styrene, small springs, metal wire, and parts box pieces.
I built out the inboard surface and edges of the legs with sheet and strip styrene to the proper thickness, detailed to match that shown in the cross-sections book.
On the outboard surface, I used strip styrene & putty to build out the set of small flanges. I added the cone-shaped laser muzzles using styrene rod which I had turned using my Dremel as a mini-lathe and an X-acto knife as a shaping tool.
Painting & Detailing:
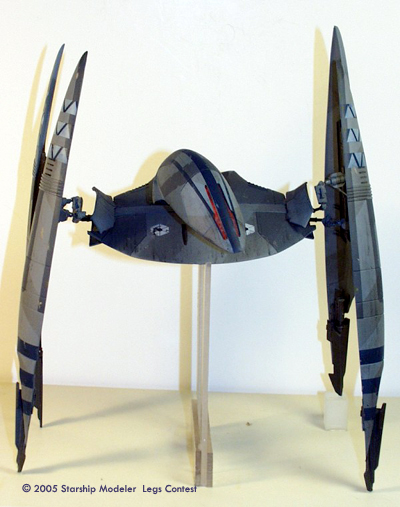
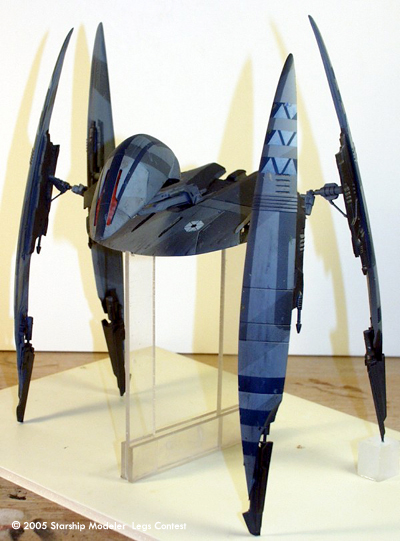
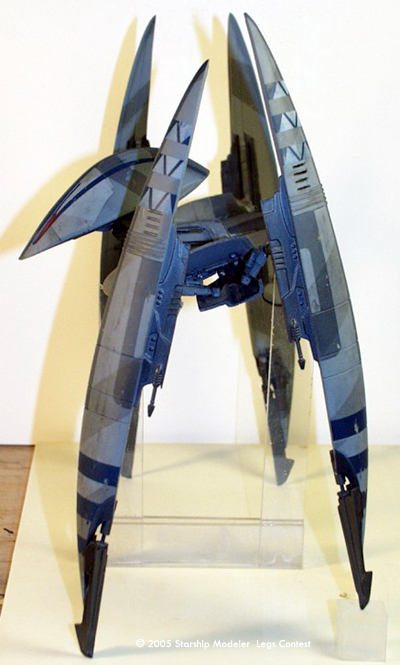
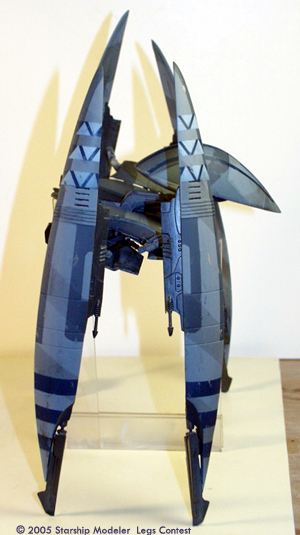
Most of the painting is Model Master enamels and Metallizers. I masked off the various areas with blue painter's tape prior to airbrushing. The overall color of the body, head, and legs is neutral gray. Detail panels and markings are dark ghost gray, F-15 gray, darker mixes of F-15 gray/black. I used Blue Angel blue and 1:1 camo gray/white for the bar & triangle markings. The ōshadow barsö are Tamiya smoke acrylic. The walking claws and laser cannon areas are gunmetal. The leg struts are stainless steel, black, and neutral gray.
The ōCaptain Droidö body marking hexagons are ALPS-printed decals. Weathering is a variety of techniques ¢ mostly X-acto scraping, pastel dusting, airbrush misting, & black acrylic washes.
Final Assembly:
With all parts finished, the only remaining task was to put it all together. The head-bone cemented to the neck-bone; the neck-bone cemented to the body-bone... Likewise, I cemented the body panels and leg struts in place. The final step was to attach the legs. I built a cardboard jig to hold the body in its ōstandardö walk-mode position, canted at a 20░ angle with the front lip about 5ö above base. I then positioned the legs and used balsa wood & Sculpey for supports to hold the legs in position. Finally, I cemented the legs to the struts, and... finĒs!
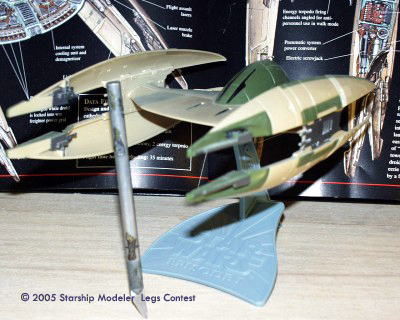
Image: Starting point
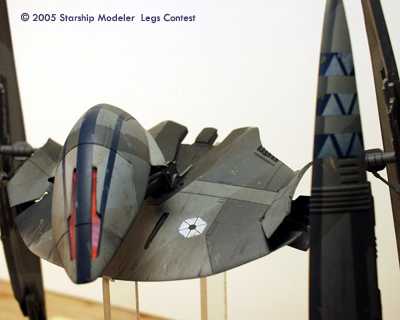
Image: Closeup
Image: Claw detail
Image: Eyes
Image: Left side view
Image: Inboard leg detail
Image: Right side
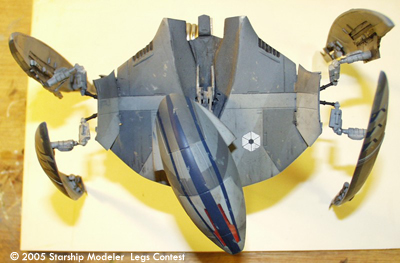
Image: Looking down
![[Legs Contest: banner by Gino Dykstra]](legs_banner.jpg)
![[Thanks and Hail! Zog]](zog.gif)