by George Leone
Scale: 1/20
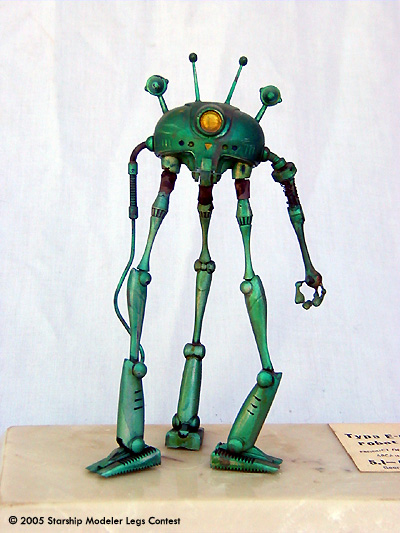
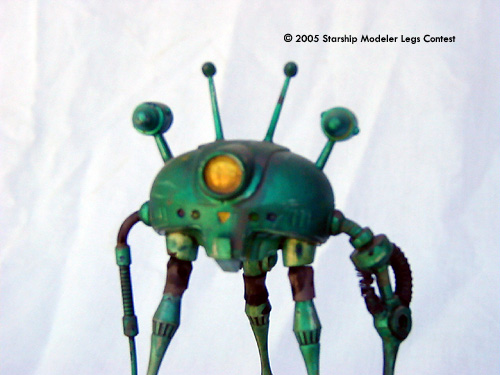
This is the 3 meter tall Aztlan Heavy Equipment E-6 Series Triped Workbot
designed for 5.1 to 6.4 Gee applications.
It is utilized in deep to extreme gravity well situations such as Gas Giant
planet surfaces and maintenance of Very Hi-Gee spacecraft, exposed vacuum
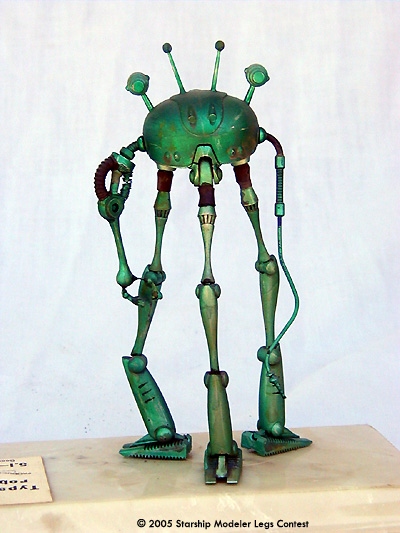
and high radiation locations. Cupro-lithium hardening over a Beryllium
surface gives it a distinct greenish hue. It stands a little over 3 meters
(10 ft.) tall. This model has the standard 3-finger left-side effector and
right-side high-flex "whip" communications/tool port probe.
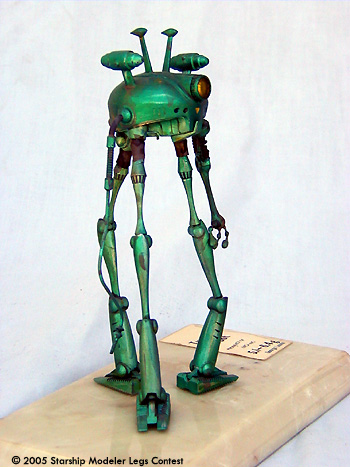
I made this model in 1/20th scale from an Aoshima kit of a 3-legged robot
called "Dogu Mak", I think, in 1/610th scale. It appears that it flew, with
a rocket motor sticking out of the middle. The model is 15cm (6 inches) tall.
I articulated the legs a bit, using wire to reinforce the joints. At the
top of the legs I disguised the connections with electronic shrink tubing,
un-shrunk. The 3-digit effector ('hand'for non-robotics types) was made
from annealed sewing pins. They were heated red-hot and allowed to air-cool
making the metal soft. It was then bent and inserted into holes drilled
into a medium sized plastic sphere from a game. The pins were coated with
glazing 'spot putty' used for auto body touch-up. I thinned the 'spot
putty' with rubbing alcohol and brushed it on the pins, building up
'joints' and 'finger tips' in multiple coats. I made visible 'fingerprints'
by pressing a fine mesh screen against the "finger tips" while the putty
was soft.
The lower left 'arm' was made from stretched sprue and pinned to the sphere
and the top with wire. The flexible tubes around the middle joint were made
with ball point pen spring material that was also coated with 'spot putty',
substituting for the molded plastic hoses. The 'feet' were a find at a
contractor's supply. They are wedges used to secure Romex electrical wire
into plastic junction boxes. I just got a few samples, I wish I had more!
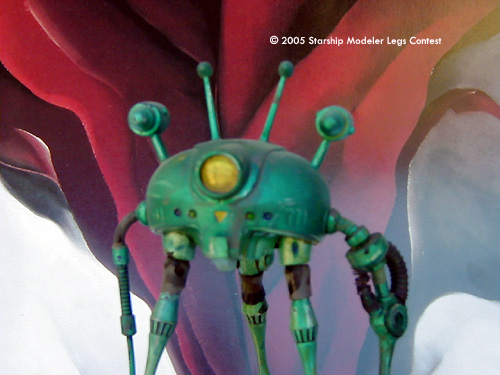
The 'eye' in the front had aluminum foil glued into it, then I filled it
with 5-minute epoxy colored with some yellow enamel paint mixed in.
It was first painted with silver Floquil, then a layer of green metallic
without the silver in it (let it stand and use an eyedropper to pull off
the color from the top of the bottle). It came out an amazing color.
SOMETIMES you just get LUCKY! I weathered it lightly with home-made colors
(baby-barf yellow, watery engine sludge brown, etc.). After that I
clear-coated it with a final coat of flat clear to finish it off.
The base is a sample piece from a local "cold-cast marble" manufacturer.
Image: Artistic
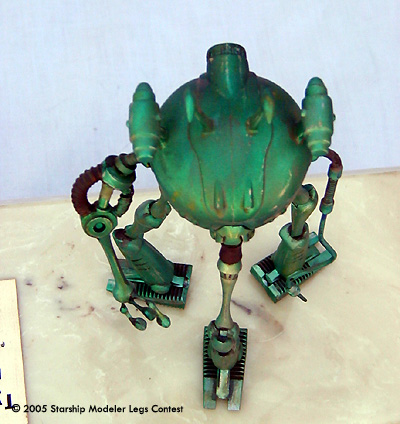
Image: Rear view
Image: Close up
Image: Right side
![[Legs Contest: banner by Gino Dykstra]](legs_banner.jpg)
![[Thanks and Hail! Zog]](zog.gif)