I thinned the 'spot putty' with rubbing alcohol and brushed it on the arm
and the pin heads, building up the flexible covering and 'finger tips' in
multiple coats. I made 'fingerprints' that were visible on this one, by
pressing a fine mesh screen against them while the putty was soft.
I had to have an interior, so I cut a door in the back before assembly and
added some wires and small, blocky components from various old kits. I
hand-painted the stuff and made a plausible-looking mechanism to open the
hatch. The 'tool kit' was parts from the kit that fit the right 'hand'
socket. I glued them to a sprue sub frame and attached it to the 'pod' with
a bit of brass wire.
The right 'arm' is another long, tight spring that was pulled over a piece
of solid core copper house wire (16 ga.). A collar was glued on near the
bottom, then another spring (from a ball point pen, shortened) was wedged
between the collar and the end 'socket'.
The 'eye' in the front was a depression that I glued aluminum foil into,
filled with 5-minute epoxy colored with enamel paint mixed in. I sanded the
4 diamond shapes off of the front, sides and rear of the "head". Hoses on
the leg were made from vinyl coated wire. I stripped the vinyl off of the
ends and super-glued the copper ends into holes drilled into the "leg" so
they wouldn't fall off.
It was first painted with white Floquil, then a layer of red enamel for the
two-tone finish. Details were hand painted, then I used a mechanical pencil
to draw in panels and tiny rivets. Everywhere. Even on the 'tool kit'
tools. It came out great with just a couple of decals. I weathered it,
after clear-coating it with Future floor wax, using a water-base tannish
mix. A final coat of flat clear enamel finished it off.
The base is a sample piece from a local "cold-cast marble" manufacturer.
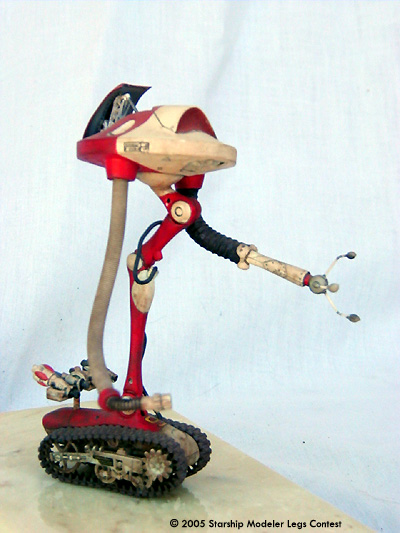
Image: Rear view
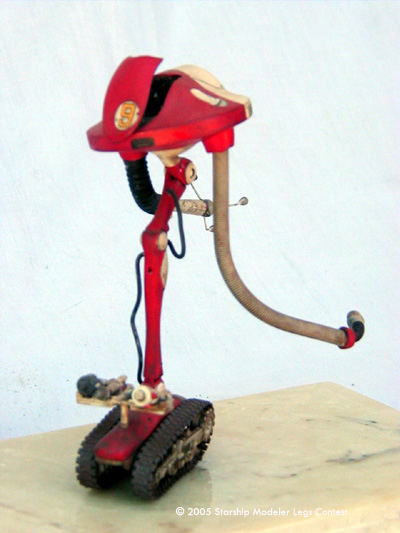
Image: From ground level
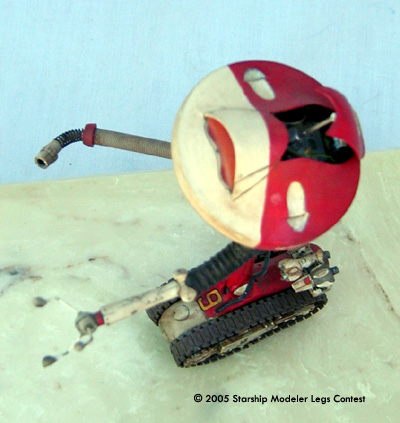
Image: Top view
![[Legs Contest: banner by Gino Dykstra]](legs_banner.jpg)
![[Thanks and Hail! Zog]](zog.gif)