I think I sanded my fingertips off.
I added some makeshift plates with .015 stock and GrantLine bolts & rivets. Some plates were welded on using some Tenax and an Exacto blade to make the weld bead.
Then came paint.
My first paint test produced great results. What I did was paint the part flat black and then mask off the damage and edges with salt. Then I applied two coats of paint and removed the salt. Then, I painted flat black again, followed by another salt mask and the painting with final color. This produced a look of repeated paintings with a subtle layered look that looked phenomenal, especially when the RustAll No.1 was applied.
The problem was all that masking and painting took too long considering all the parts involved. So I eliminated the under-painting and just did a single masking step. I lost some of the subtlety but it wouldn't take me 2 months to paint. Once the parts were painted the rust was applied. Generally 3 coats (the more coats the heavier the rust) but less on the weapons and more on the lower legs & feet. Oh, forgot the decals. Really, I did. This required a spot gloss coat, to avoid damaging the rust. I used some custom decals I had laying around along with deals from the Starship Modeler store. All were distressed then matte coated and more rust applied.
Then, finally, I got to dry brush it, add soot & oil stains and I was done.
I am so tired.
Oh, wait I still have a base to build, so much for sleep.
The base was built using scrap parts, Aves, MagicSmooth, rocks, dust, you name it. It received a mottled paint of tan & buff with the metal parts picked out in dark gray & black. Several washes were applied, the metal parts getting a serious dose of RustAll. Then finally a gentle drybrushing of light tan.
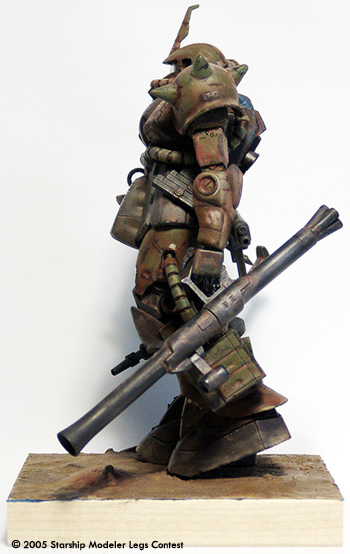
Image: Left side
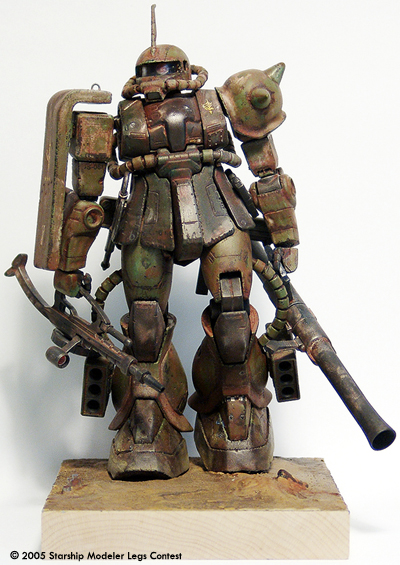
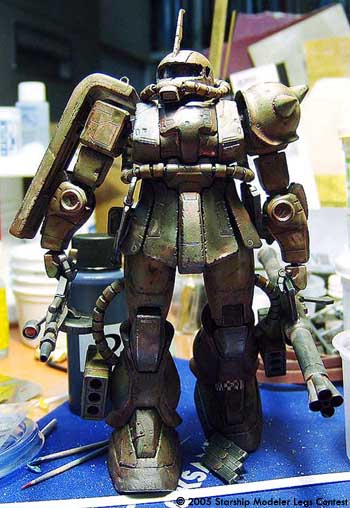
Image: Right/front view
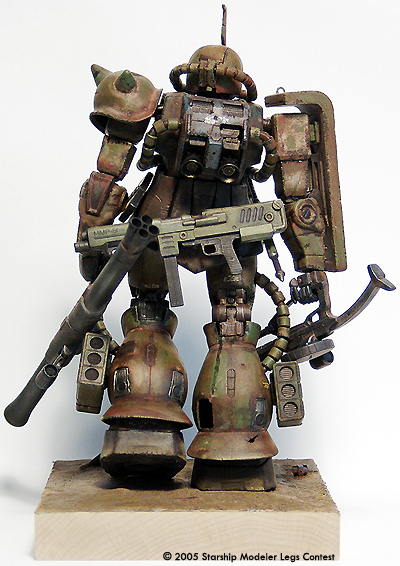
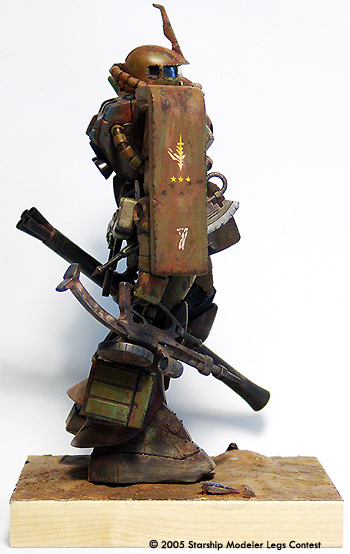
Image: From behind
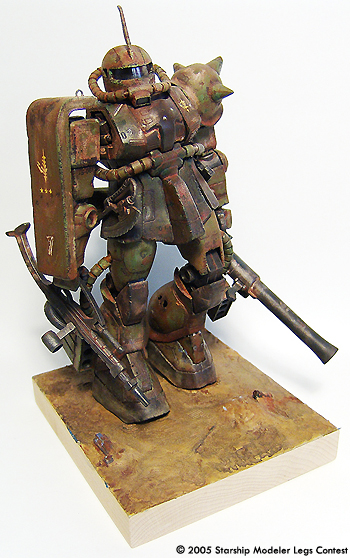
Image:Right side
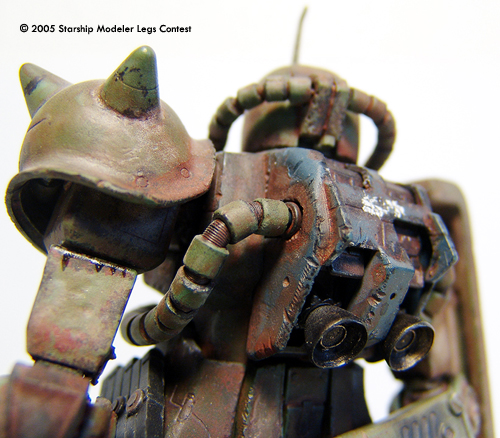
Image: Detail, left/rear torso
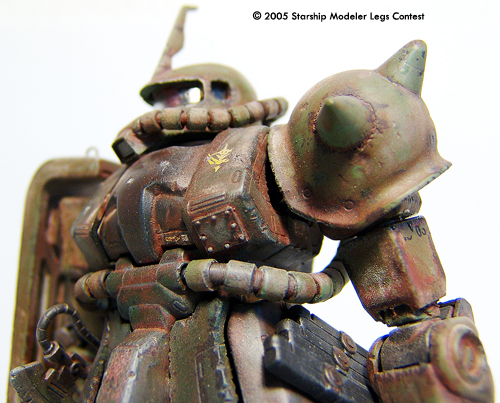
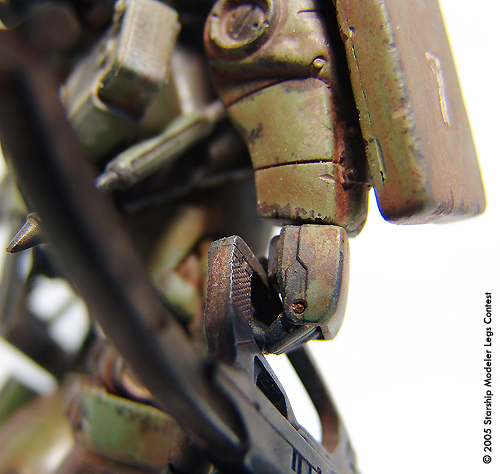
Image: Detail. left/front
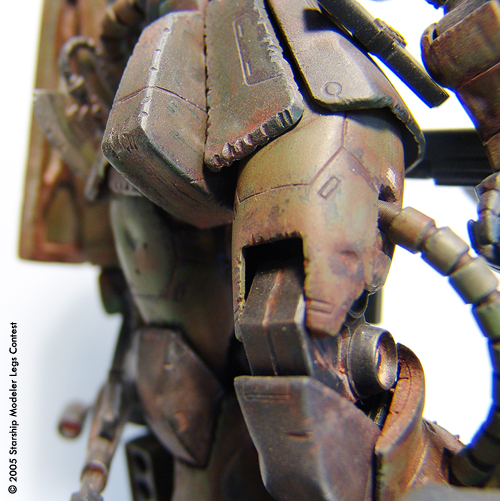
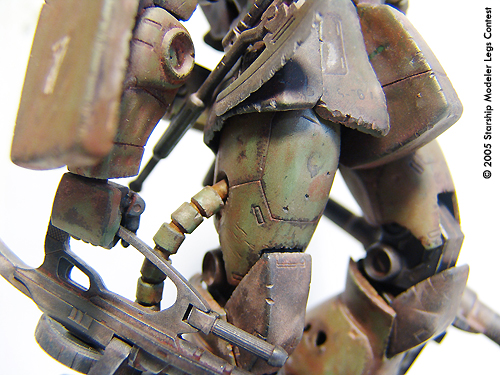
Image: Detail, left leg
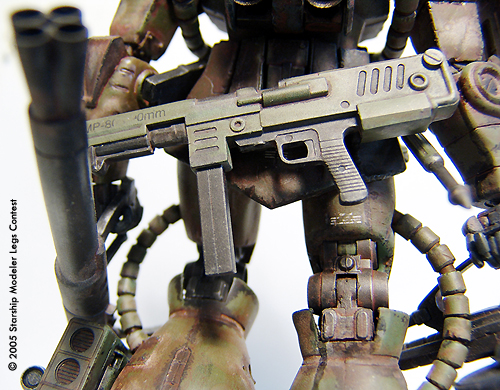
Image: Detail, weapons
Image: Right hand
Image: Detail, right leg
Image: In the spotlight
![[Legs Contest: banner by Gino Dykstra]](legs_banner.jpg)
![[Thanks and Hail! Zog]](zog.gif)