by Jason Gares
Scale: Not stated
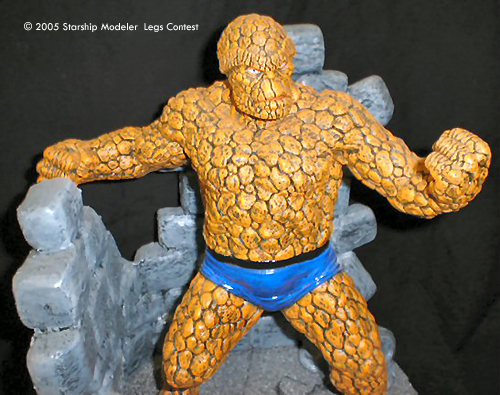
I had built this model around the release of the Fantastic Four motion picture that was in theaters this past summer. It was built from a Horizon Hobbies model kit that was released back in 1991, an oldie but goodie of a kit that was one of the best (in my opinion) sculpts ever done.
This was pretty much a straightforward build. The model consisted of only eight parts. The parts were glued together using Zap-A-Gap CA and any noticeable seams were also filled using Zap-A-Gap CA. Before putting the upper and lower body parts together, I filled the legs with Durham's Water Putty for stability. I then stuffed the upper part of the body with newspaper, also for stability and so that when the temperature gets a little warm, the model won't disfigure. Once both halves were filled to my liking, I attached them and again, filled the seams with Zap-A-Gap CA.
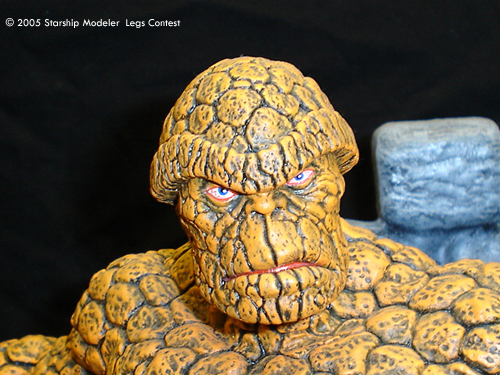
Now it was time to paint. I airbrushed a base of acrylic flat black down and let that dry. I repeated this two more times to get overall, even coverage. I let each coat dry for 24 hours. Once the coats were dry, I dry-brushed on a coat of yellow and then dry-brushed two different hues of orange over the yellow. Once again, I let each color coat dry 24 hours between coats and then sealed it with a flat overcoat. I hand painted the eyes in and added a little flesh coloring to the mouth area.
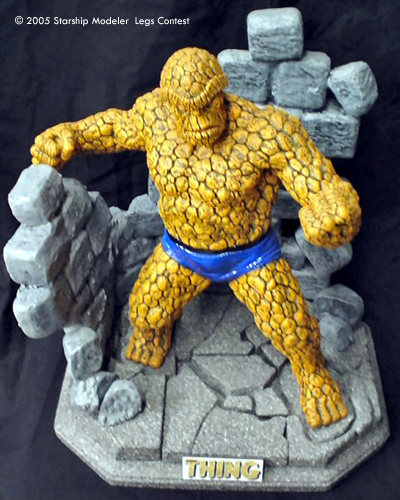
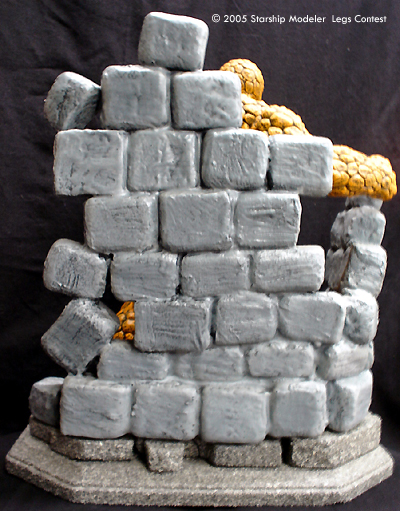
I felt that The THING needed a bit more then the usual base that would be made for a kit like this. So I decided that I was to design and scratch build one. Both stone walls as well as the concrete floor were carved and sculpted out of floral foam. Then I covered each piece with Durham's Water putty for strength and stability. Each stone and concrete piece was glued into place and airbrushed with three coats of flat black. The stone walls were dry-brushed with two different shades of gray and the concrete floor was sprayed with Fleck Stone paint. The entire base received a couple coats of semi-gloss sealer. I had chosen a semi-gloss sealer because I wanted to give the impression this was a dungeon type room in Dr. Dooms castle lair.
The THING looks like he is ready to kick Dr. Doom's hide all over the place and won't ask for assistance from his fellow Fantastic Four partners. So if you don't mind, kindly get out of his way, he has some business to attend to.
![[Legs Contest: banner by Gino Dykstra]](legs_banner.jpg)
![[Thanks and Hail! Zog]](zog.gif)
