by Volker Wurth
Scale: 1/96
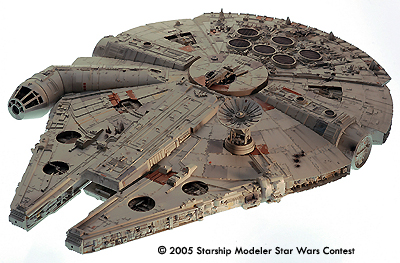
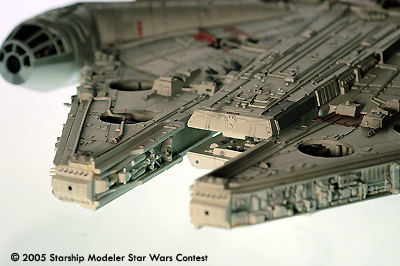
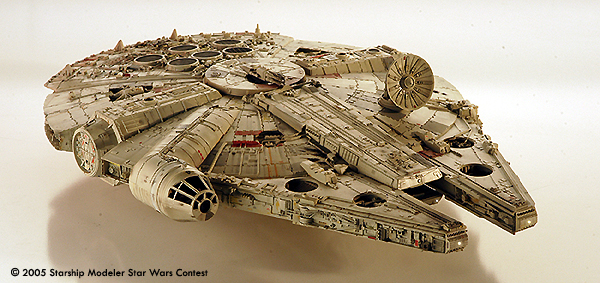
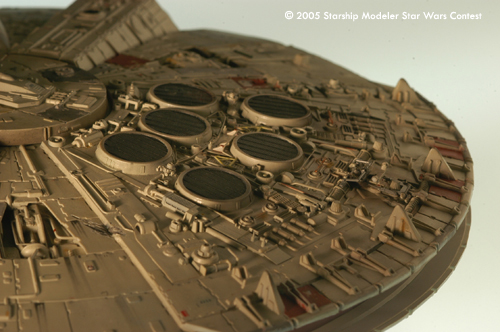
This Falcon trook me 3 years to build, from November 2000 to December 2004, while I had lots of breaks in between were I couldn't work on it. I used the MPC ROTJ kit which is a disaster in details and proportions.I decided to go for the A NEW HOPE version with three landing gears
For a primer I used Citadel Colour Caos Black and Scull White also from Citadel available thru GAMES WORKSHOP .
For colouring and weathering I used TAMIA acrylic paint.
I have to admit that am not a hobby modeller. When I started I had nearly no experience, so had to spend lots of time on trial, error and research.
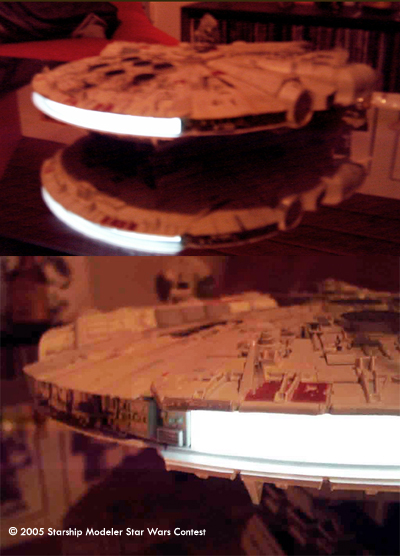
It was a big challenge doing the electronics, especially finding a way integrating the inverter into the model that feeds the engine lights with 12 V into 230 V high voltage without having a cable running out of the model and still building a skeleton inside the model that helps it stable.
The engine light is extremely bright. The colour can be changed from white to yellow, green, blue,and violet by potentiometer. The brightness can be manipulated by potentiometers inside the Falcon, too The model is well arranged inside but pretty packed. All in all it weights about 2 kilos.
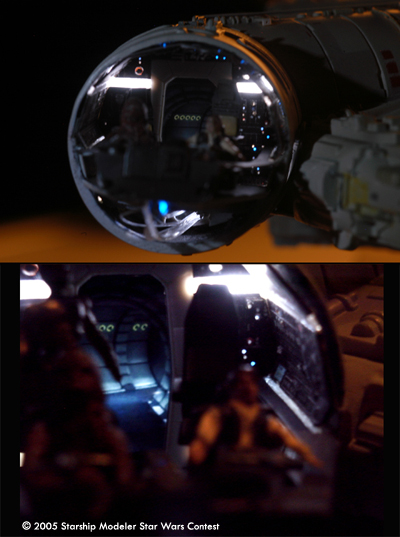
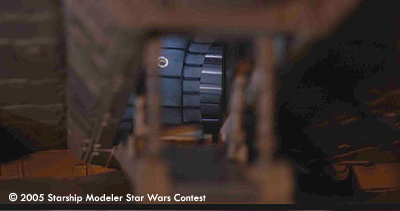
The entrance was completely rebuilt by scratch including the inner round corridor which is illuminated for perfect atmosphere.
The same is done with the corridor of the cockpit in 3D.
148 0.3mm fibreoptic cables feed from 7 different lights from the inside of the model. They were organised in the extreme tight space of the cockpit. The sometimes blinking lights (5 different rhythms) are organised at the sidewalls of the cockpit, too. Not finding the perfect glue, 20% of the lights were blinded by the superglue I used. ItÇs still astonishing watching the 120 that survived.
A special image are the front lights. I decided to use halogen lights which effect you can see when you look into the light of a mag light. The beams build the chape of a 16 or 17 beam star. It looks so realistic and warm that I couldn't compromise with LED's. Problem was: they run with 3V and had to be feed by the 12 V that feed the 230V, too.
![[Starship Modeler's 11th On-Line Scale Model Contest: Star Wars]](ssm_starwars_contest_banner.jpg)
