The areas that had both the missiles and movable guns came out, were filled in, and also kit bashed for more accuracy. The screw holes were also filled in and sanded so that this prop would look more authentic and not look just like a toy. After looking it over, you can't even tell there were screws to help hold it together.
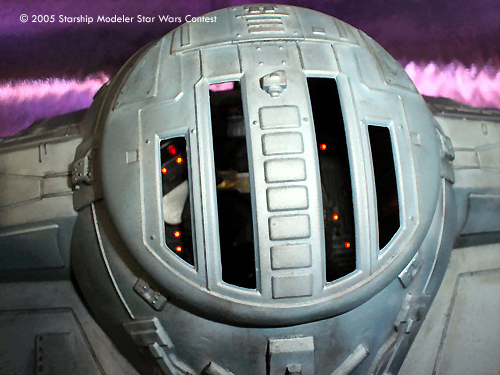
The cockpit and engine areas had holes drilled in to plumb fiber optic lines through.
Once the the toy was back together, with both screws and glue, it was time for painting. I used a special mixture of colors to achieve the look that I wanted with the color scheme. There is no known color for Darth Vader's Tie-Fighter; I did some research on the subject and came up with very conflicting colors. So in the end, I decided to take the information that I had accumulated, and come up with my own color. Once I airbrushed the main color on, I shaved off some black artist charcoal, dipped my brush into it and dry brushed it on the model. I did this in order to achieve a weathered effect. I wanted to show that this vehicle had been used more then once by Lord Vader and before the Battle of Yavin in Episode 4.
Once I was done and pleased with the weathering effects, I had sprayed a couple of coats of dull cote on to seal in both the paint and charcoal.
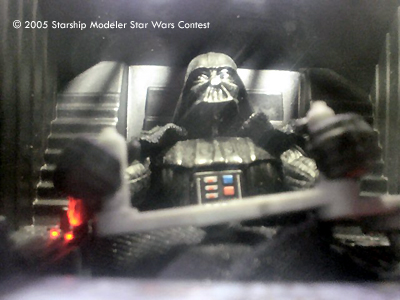
I added a Darth Vader figure into the cockpit. What's a Darth Vader Tie-Fighter worth without Darth Vader at the controls?
Now that the project is finished, I am very happy with the results. This project has taught me a lot about how different toy and model plastics are and how to approach them.
Image: Cockpit lighting visible through the top hatch
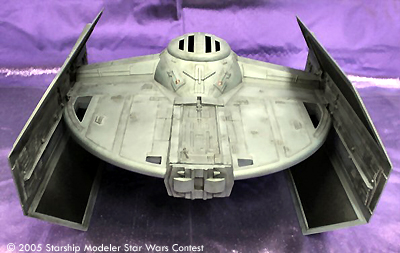
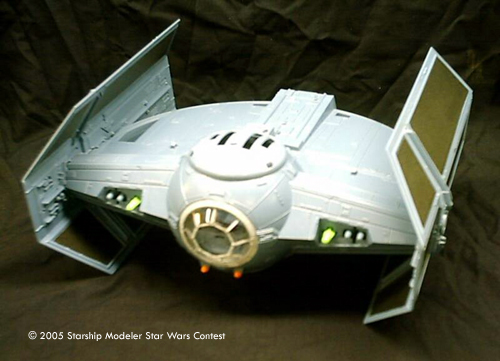
Image: Upper deck, weathered
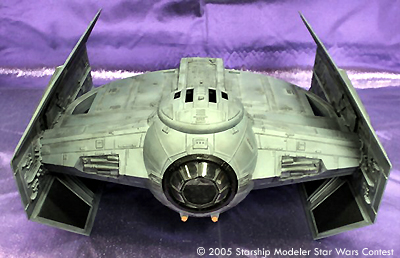
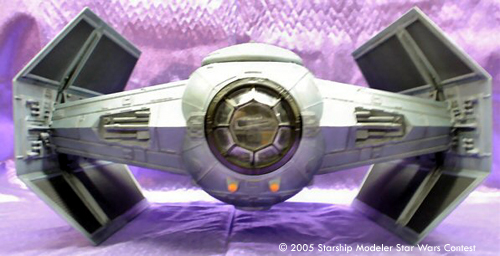
Image: Front view
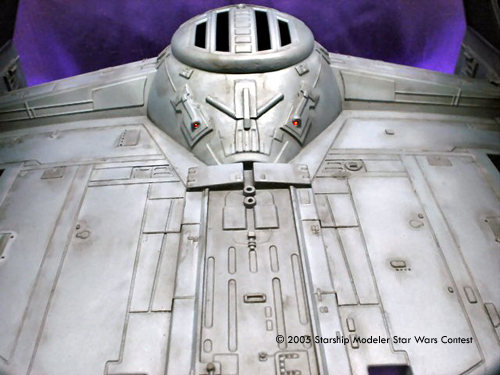
Image: "This one is mine..."
Image: Where it started
![[Starship Modeler's 11th On-Line Scale Model Contest: Star Wars]](ssm_starwars_contest_banner.jpg)